
Here are some of the things you need when canning beans:
 For some foods you can just use boiling water, but with beans you need to heat your food to higher temperatures to kill off all of the bacteria and spores that can spoil your food and this requires the pressure canner. Next you’ll need some mason jars. I’m using pint sized jars but you can also use quarts if you want to can larger quantities. You’ll need some lids, which will form a seal on your jars, and you’ll need some screw bands to keep those lids in place until they seal. The funnel is just the right size for the jars so its helps you fill them without making too much of a mess. Those green and black things are jar tongs which are useful for picking up hot jars.
Beans are also nice to have when canning beans.

I’m using 2 lbs. of Great Northerns simply because they are what was lying around.
Now we're ready to get started.
Step #1: Soak your means overnight.
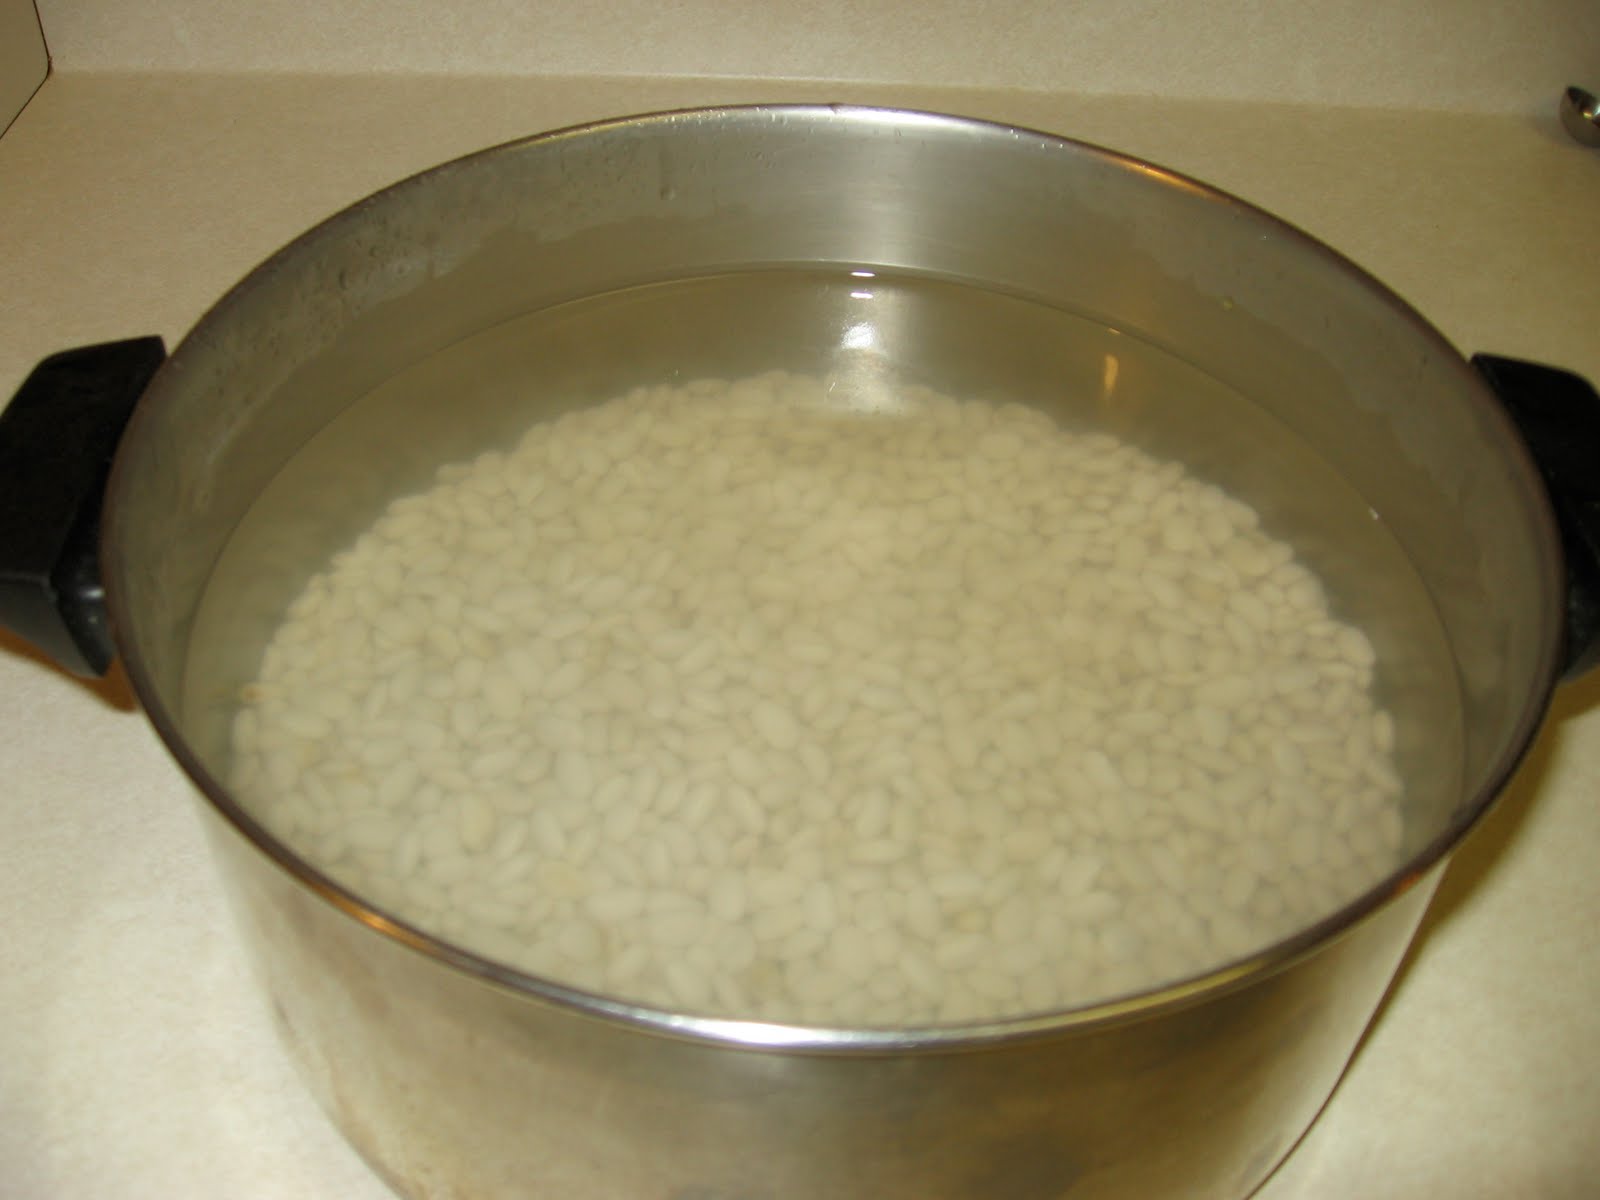
Step #2: Discard the water you soaked your beans in. Add more water and boil for 30 minutes.

Step #3: Prepare the rest of your equipment. Get together your jars, lids and screw bands. Wash your jars and get them warmed up (hot food + cold jar = cracked glass).
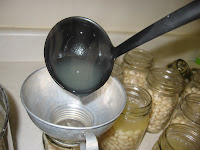
Step #4: Fill your jars. I like to add the beans first.
Don't fill them all the way with because the beans will continue to absorb water and expand in the pressure canner.
After you've got your beans in there its time to pour in the liquid. I like to use the remaining cooking liquid but you can also use boiling water.
Make sure you leave 1 inch of space between the top of the liquid and the top of the jar (called headspace) since food and liquids like to expand when hot. You want some air to escape since that's what helps create the seal but you want your food to stay in the can so the extra space helps to ensure that.
Step #5: Place your lids on your jars and secure them with the screw bands.
Step #6: Put your cans into the pressure canner, put on the lid and turn up the heat.
Step #7: Let the pressure reach 11 lbs and adjust the heat to maintain that pressure. Continue to cook for 75 minutes for pints and 85 minutes if you used quart jars.
Step #8: Once you’ve processed your jars for the required amount of time turn off the stove and let the pressure in your pressure canner drop all the way.
Step #9: Next remove your jars from the canner. This is where the tongs come in handy.
Hopefully at this point you’ll start to hear the amazing popping sounds that the lids make when they form seals. It’s really quite a joyful sound because it means that all of your hard work has paid off. If any of the jars do not seal you need to either dispose of them or stick them in the refrigerator right away and eat them in the next few days, they will not be safe to store long term. Let the jars continue to sit there overnight undisturbed.
Step #9: The next day remove the screw bands and wash your jars.
Step #10: Now all you have to do is store your jars in a cool dark place until you are ready to eat them.

I'm so intrigued. One of these days, I really want to attempt canning. Where do you acquire a pressure canner??
ReplyDeleteCanning is definitely a lot of fun, you should totally try it. I would recommend starting with water bath canning since you don't need as much specialized equipment and it's a bit more simple. Jellies and jams are great for beginners. Stay tuned because strawberry season is fast approaching and that means I'll be stocking on strawberry jam.
ReplyDeleteI believe my pressure canner is a Presto 23-quart (I'll have to verify that though). I was extremely lucky and got mine from my mom. Years ago she used to do some canning and then stopped, so I found it in the attic and have been 'borrowing" it from her ever since. Becasue I had such great luck coming across a pressure canner for free, I would recommend that you ask around and see if any of the ladies in your life have a pressure canner that they just aren't using anymore. Another good place for second-hand pressure canners is craigslist. If you are looking for a new pressure canner I know you can find some on Amazon.
Pressure canners are usually pretty durable and can hold up a long time. However, if you do decide to get one second hand I suggest that you get it tested to make sure the gauge is still reading the correct pressure. Check with your local extension service, sometimes they will offer the testing for free.
And Britt, if you ever want to try out some canning before you commit to buying all of the equipment, I'd be more than happy to have you over and we can have a little canning party.
Thanks for all the info! I'll definitely take you up on the offer for a canning party. Let's plan it soon! I'd love to learn how to make my own strawberry jam. I'm more than willing to come down to MD :)
ReplyDelete